How to Make AI Illustrated Books with Python
This is how I created illustrated stories of myself, family and friends using generative AI
Everything started with me playing with the FLUX.1 model on Replicate and fal.ai. I spent countless hours making fine-tuned models with images of myself, my girlfriend and even my daughter’s toys.
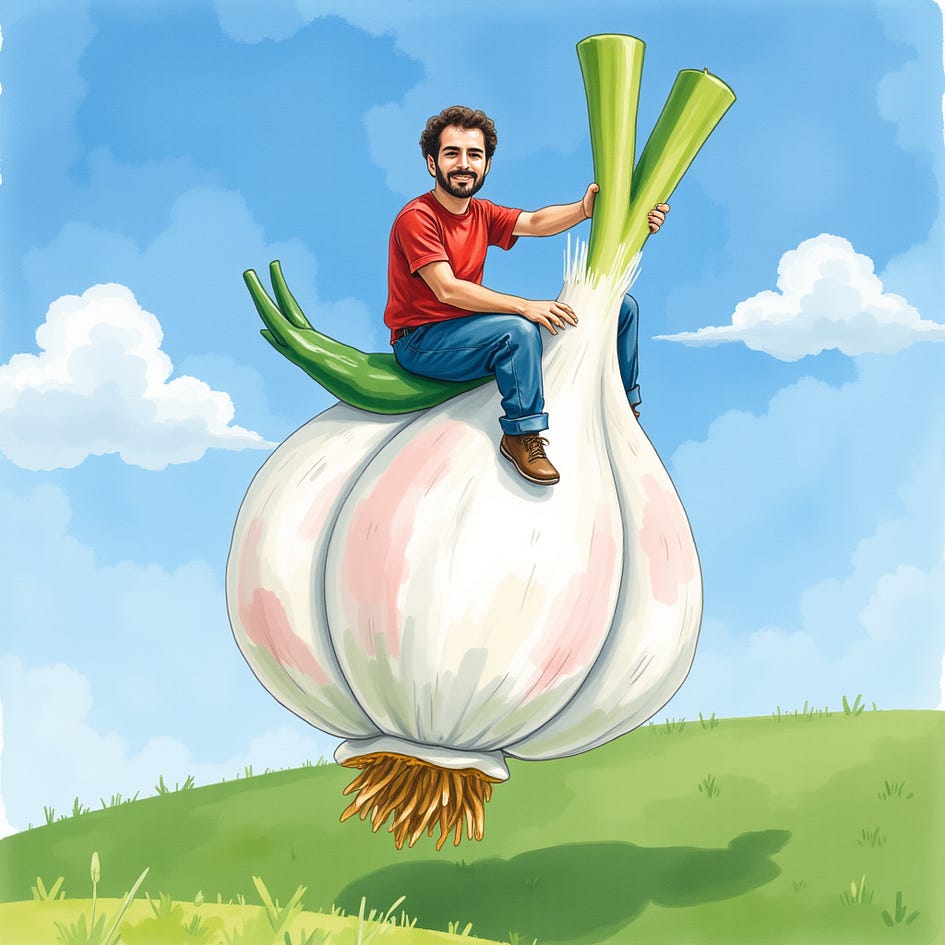
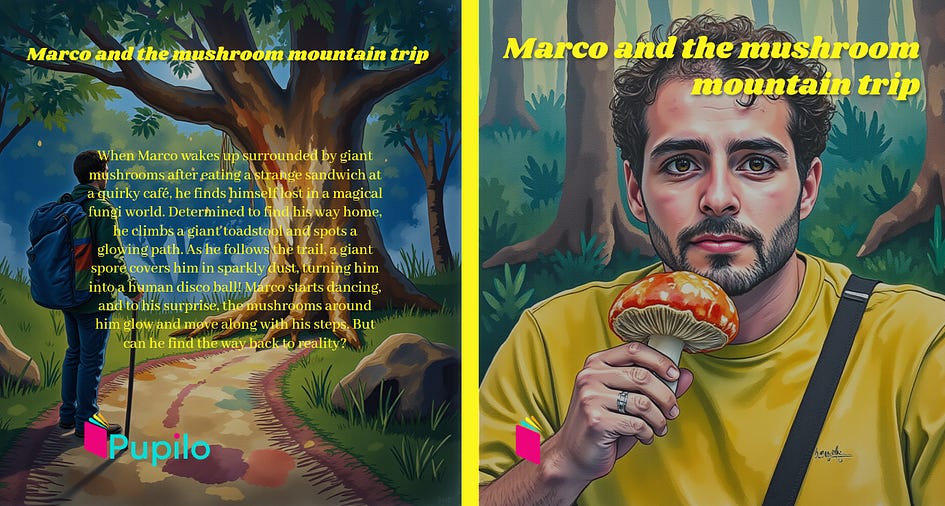
I use the APIs with Python to overlay other LoRa models and produce less realistic results, like the one you see below, which is me riding a giant garlic in a green field with a watercolour painting touch.
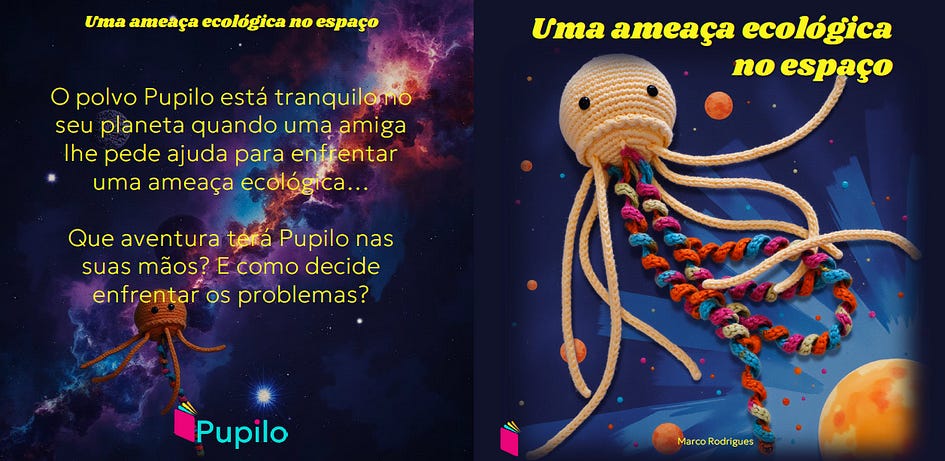
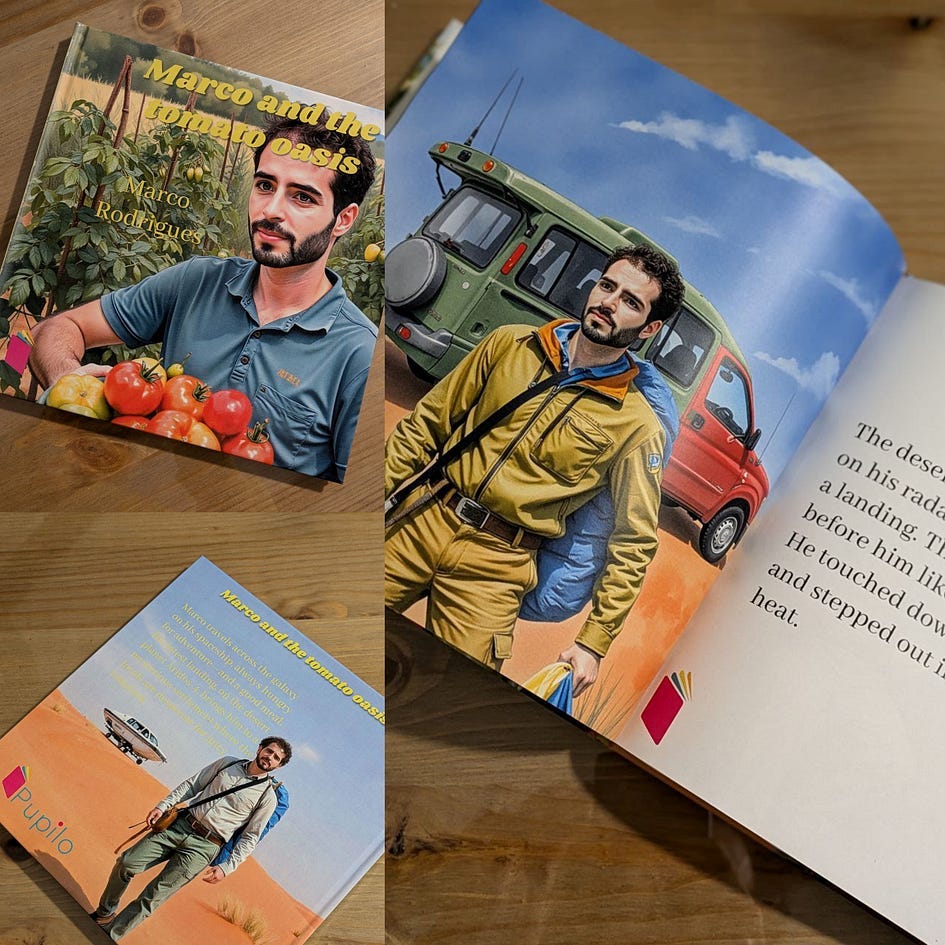
At some point, I realised that these images could make a great book for my daughter, so I decided to take around 20 photos of her favourite toy, called Pupilo, and fine-tune a model on Replicate. Next, I generated images of Pupilo on a space exploration mission, and I manually put the images and the story together. Finally, I used Amazon KDP to publish the book, and I shipped a sample to my home address. The cover looked like this:
When the book finally arrived home, I was super excited to show it to my daughter. She saw it with her giant eyes and smiled. She crawled towards me and grabbed the book. It wasn’t long before she decided to put it in her mouth and crumple it completely!
It’s ok, it was my fault, I picked the worst quality paper, and the cover was very soft. But I didn’t give up there, I was ready to make a stronger and better book to pass my daughter’s quality checks. Not only that, I wanted to make the process completely or at least partially automated.
For that, I needed to build the following workflow:
Use Replicate to fine-tune a model based on a ZIP file containing 20 good-quality photos.
Use LLMs with Python to produce a simple and amusing story based on key inputs. Split the story into 13 paragraphs with an image prompt for each one of them.
Use the Replicate API with Python to generate several images for each one of the previously created prompts.
Manually select the images that go with each one of the paragraphs.
Create a Python script that takes each one of the selected images and the corresponding paragraph and generates a PDF file with the right dimensions for shipping.
Finally, ship the book to my address using Lulu.
In this piece, I will guide you through the process I’ve designed to make AI-generated books while showing you how to integrate the Replicate API with Python as well as how to use the hugchat API with Lamma 3.3 to generate paragraphs.
Fine-tune the FLUX.1 model on Replicate
Several platforms, such as fal.ai and mystic, offer fine-tuning for FLUX.1 and other AI models. However, I became quite familiar with Replicate, which costs around $1 per model.
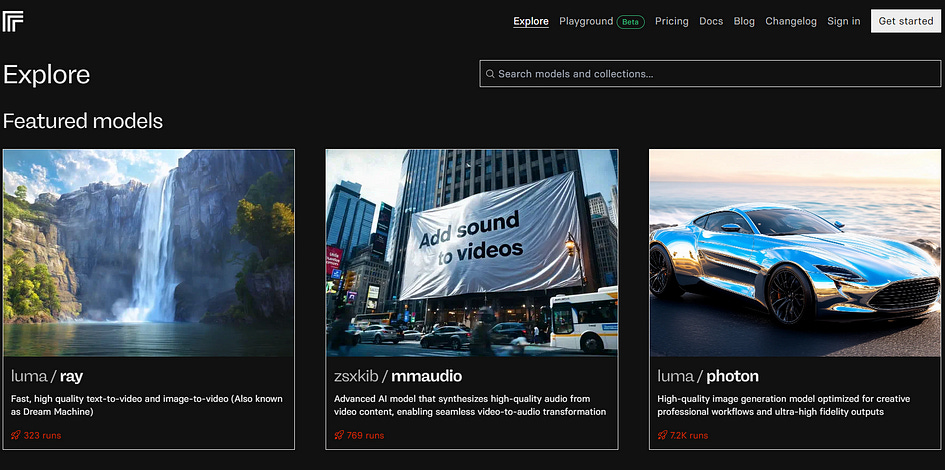
The FLUX.1 model can be used for free on Hugging Face, but for fine-tuning and accessing the professional version of the model, you need to create an account on Replicate and add a billing account.
Once done, you need to collect between 14 and 20 photos of the person, animal or object you want to train on. The better the quality the better your model will be.
Once done, you need to collect between 14 and 20 photos of the person, animal or object you want to train on. The better the quality the better your model will be.
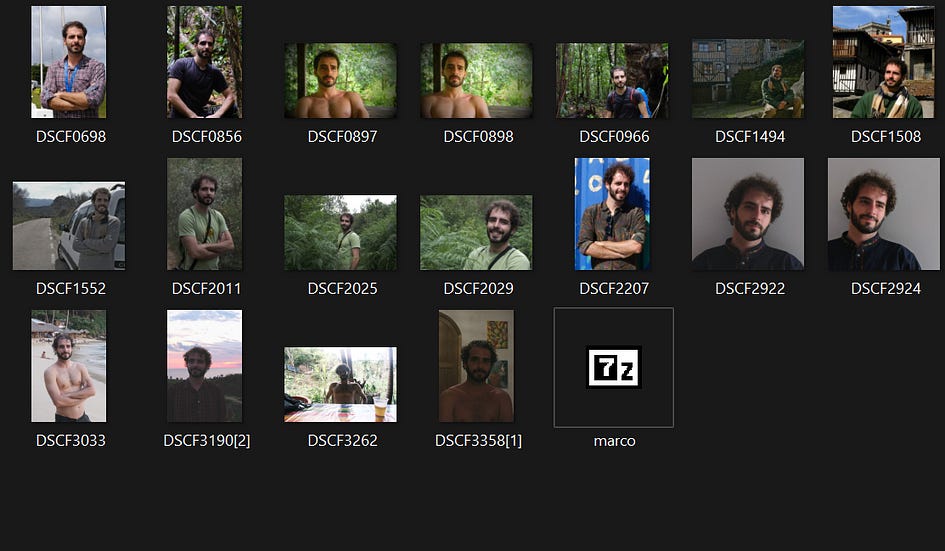
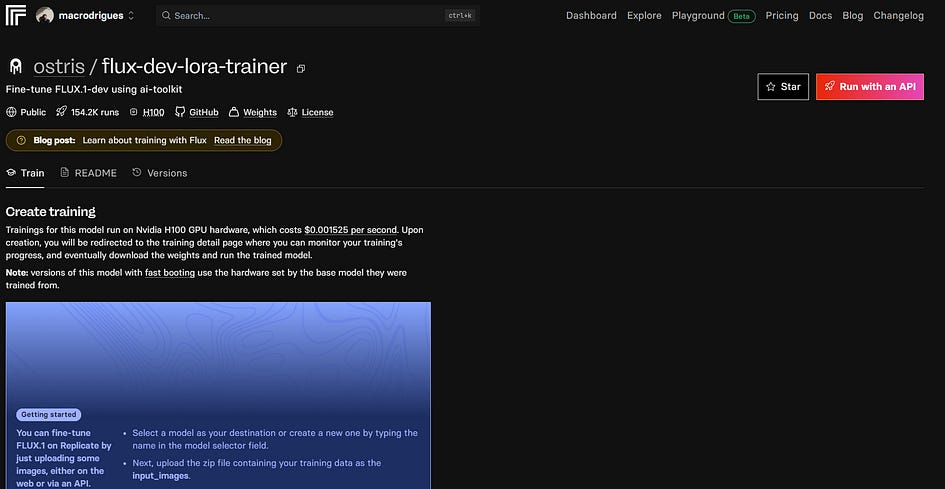
Once you have the photos, you need to compress them into a ZIP file and head to the ostris/flux-dev-lora-trainer page on Replicate.
Here you’ll need to choose a trigger word for your model to be called, and be sure to use something random like “MRCFTMGA”. For instance, if you’re called Mario and use the trigger word “MARIO”, chances are that you’ll be generating images of you driving karts and dressed in red, or worse, images of Mario and Luigi instead of you.
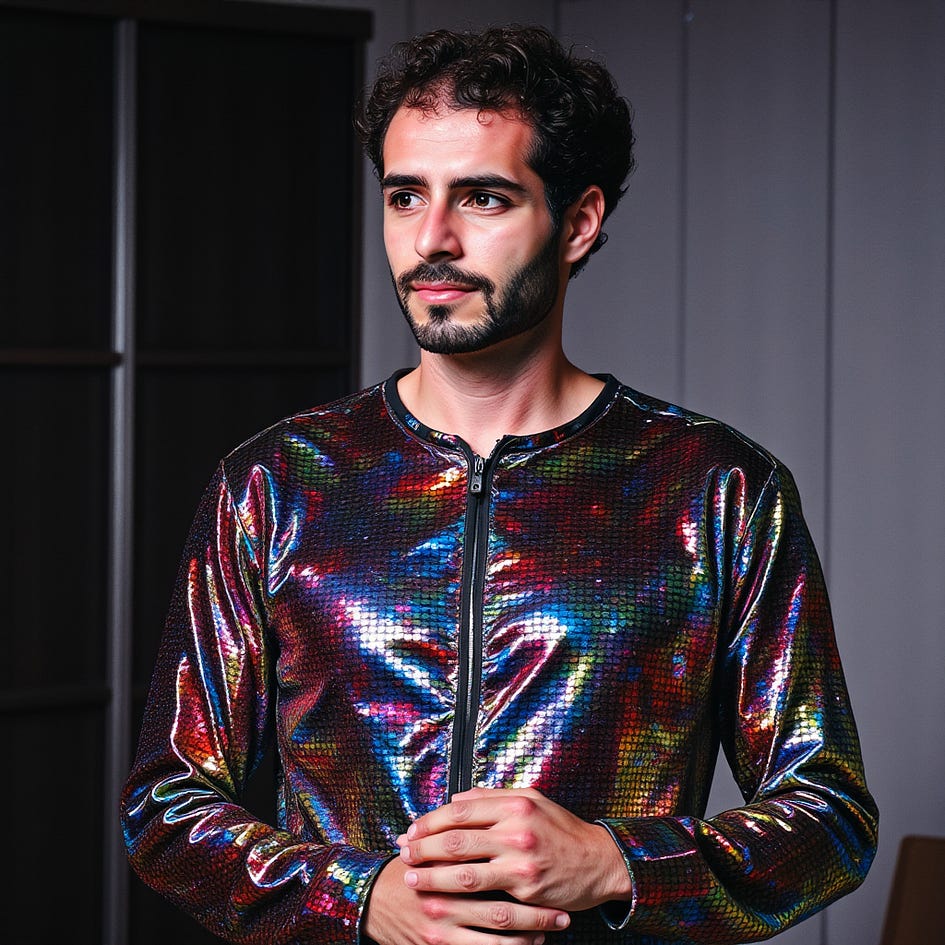
You can leave the default settings in most of the fields, just upload the zip file with all your photos, and run the API. Wait around 10 minutes, and you’ll have your model ready to start generating images like this
If you want to use your fine-tuned model with Python, you can click on it and you’ll see a tab for Python with all the steps to call the API.
First, you need to install the Replicate package via pip:
pip install replicateSecond, you need to export your token:
export REPLICATE_API_TOKEN=<my_token>And finally, run the model using:
output = replicate.run(
    "macrodrigues/marco_pupilo_model:<some_code>",
    input={
        "model": "dev",
        "go_fast": False,
        "lora_scale": 1,
        "megapixels": "1",
        "num_outputs": 1,
        "aspect_ratio": "1:1",
        "output_format": "webp",
        "guidance_scale": 3,
        "output_quality": 80,
        "prompt_strength": 0.8,
        "extra_lora_scale": 1,
        "num_inference_steps": 28
    }
)
print(output)
The input settings you see above are the same settings the platform supports, so you can first take a look a them manually and see what you can adjust in the Python dictionary.
Use the HuggingChat API to build a story and generate image prompts
When it comes to using LLMs, people often think about OpenAI’s API because it is powerful and easy to implement. However, it comes with a cost. Instead, there are open-source source models that can be used completely for free with the hugchat API built by Soulter.
This API uses HuggingChat, which supports state-of-the-art models, such as Llama 3.3 from Meta and Qwen 2.5 from Alibaba Cloud.
To use it, you first need to have an account on Hugging Face. Then, you need to select the model you want to use to generate the paragraphs of the story directly in the chat’s console settings.
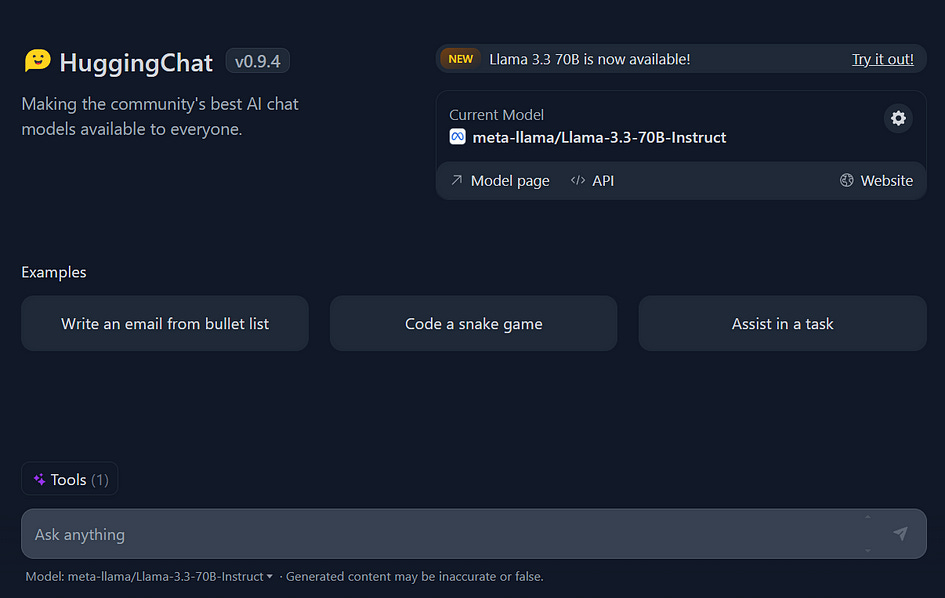
You can find the settings icon next to the model’s name. A window will then appear with all the available models.
Once done, we can open the IDE and create a Python function that will generate the story and image prompts:
import os
from hugchat import hugchat
from hugchat.login import Login

def gen_prompts_n_paragraphs(
        language: str,
        description: str,
        name: str):
    """ This function generate image prompts and a history. """

    # Log in to huggingface and grant authorization to huggingchat
    cookie_path_dir = "./cookies/"
    sign = Login(os.getenv('email'), os.getenv('password'))
    cookies = sign.login(cookie_dir_path=cookie_path_dir, save_cookies=True)

    # Create your ChatBot
    chatbot = hugchat.ChatBot(cookies=cookies.get_dict())

    # Input query
    input_query = (f"Write a 13-paragraph story about the character '{name}'"
                   f", based on this description:\n\n'{description}'"
                   "\n\nThe story must have a clear beginning, middle, and"
                   " end. Each paragraph should be numbered (1 to 13) and "
                   "be 18-55 words long. After each paragraph, provide a "
                   "corresponding numbered image prompt (1 to 13) that "
                   f"starts with 'A photo of {name}' and ends with "
                   "'in the style of TOK.' The image prompts must match the"
                   " content of the corresponding paragraph. Use simple, "
                   f"accessible {language} language for a story that's "
                   f"accessible for all ages and for non-{language} native"
                   " speakers, but always leave the image prompts in English. "
                   f"If you introduce new characters, always mention what the"
                   " character/object is in the prompt.")

    res = chatbot.chat(input_query)

    # Open the file in write mode and save the text
    with open('prompt_response.txt', "w") as file:
        file.write(str(res))
The function above is one of the first in the workflow because it produces the core elements of the story. In the next chapter, we are going to see how we use the fine-tuned model with the image prompts.
Use Python with the Replicate API to generate images
The Replicate API is limited to 4 image outputs for each run. For my project, I wanted to have at least 8 images per paragraph, because the results aren’t always what we expect, so I wanted to be sure that at least one of the 8 images is decent.
Therefore, I created a script that generates 4 outputs twice in a Python loop and saves them in specific folders.
""" This fuction generates the images """
# pylint: disable=W0718
import os
import time
import requests
import replicate


def gen_images(
        img_prompts: list,
        model: str):
    """ This function generates the images with FLUX1. and
    saves them in a folder. It takes the image prompts as inputs and
    the model. """

    retries = 0
    while retries < 5:
        try:
            break
        except Exception as error:
            print(error)
            retries += 1

    for j, prompt in enumerate(img_prompts):
        group_of_images = []
        for i in range(2):
            images = replicate.run(
                model,
                input={
                    "model": "dev",
                    "prompt": prompt,
                    "extra_lora": "lucataco/flux-watercolor",
                    "lora_scale": 1.2,
                    "num_outputs": 4,
                    "aspect_ratio": "1:1",
                    "output_format": "png",
                    "guidance_scale": 3.5,
                    "output_quality": 100,
                    "extra_lora_scale": 1,
                    "num_inference_steps": 28
                }
            )
            # Add some time to not saturate the API calls
            time.sleep(30)

            # Batch of images
            group_of_images.append(images)

        # Flatten group of images
        images_flat = [
            item for sublist in group_of_images for item in sublist]

        # Create a folder to store the batch of images
        folder_name = f"images/prompt_{j+1}"
        if not os.path.exists(folder_name):
            os.makedirs(folder_name)

        # Download and save each image
        for i, url in enumerate(images_flat):
            response = requests.get(url, timeout = 50000)
            if response.status_code == 200:

                # Define the file name and path
                file_name = f"image_{i + 1}.png"
                file_path = os.path.join(folder_name, file_name)

                # Write the image to the file
                with open(file_path, "wb") as file:
                    file.write(response.content)
                print(f"Downloaded {file_name}")
            else:
                print(f"Failed to download {url}")

        print(f"All images downloaded and saved in images/prompt_{j+1}")
You can see in the replicate dictionary that I use a second LoRa called lucataco/flux-watercolor, this creates the watercolour painting style in the images because I don’t want them to look super realistic.
This step can take up to 20 minutes and costs a few dollars to generate around 104 images. From this total, I select 15, one for each paragraph (13) and 2 for the cover.
Use the ReportLab toolkit with Python to create PDF files
With the images generated and selected, it’s time to create the book pages! Definitely, I didn’t want to manually create them with Canvas, PowerPoint or any other software, because it takes a significant amount of time.
Therefore, I created a Python script with the ReportLab toolkit to generate the body of the book. First ,I had to install the library:
pip install reportlabSecond, I put together a group of functions that correctly create the body, the title, and the dedication of the book:
import os
from PIL import Image
from reportlab.pdfgen import canvas
from reportlab.pdfbase import pdfmetrics
from reportlab.pdfbase.ttfonts import TTFont
from reportlab.pdfbase.pdfmetrics import stringWidth
from PyPDF2 import PdfMerger


def gen_book_pages(
        image_path: str,
        index: int,
        text: str):
    """ This function creates a combined pdf file with an image and the text
    in the second page. It takes the image path, an index and a paragraph."""

    logo = 'tools/book/logo_pupilo.png'
    output_image = f"outputs/image_pages/output_image_{index}.pdf"
    output_text = f"outputs/image_pages/output_text_{index}.pdf"
    custom_font = "tools/book/AbhayaLibre-Medium.ttf"

    # Desired size in pixels
    target_width, target_height = 558, 558

    # Resize the original image to 7.75 inches x 7.75 inches (558x558 pixels)
    with Image.open(image_path) as img:
        # Calculate cropping box
        width, height = img.size

        # Calculate aspect ratios
        aspect_ratio_img = width / height
        aspect_ratio_target = target_width / target_height

        # Crop the image to fit the target dimensions
        if aspect_ratio_img > aspect_ratio_target:
            # Image is wider than target, crop sides
            new_width = int(height * aspect_ratio_target)
            left = (width - new_width) // 2
            top = 0
            right = left + new_width
            bottom = height
        else:
            # Image is taller than target, crop top and bottom
            new_height = int(width / aspect_ratio_target)
            left = 0
            top = (height - new_height) // 2
            right = width
            bottom = top + new_height

        resized_img = img.crop((left, top, right, bottom))
        resized_img.save('resized_image.png', format='PNG', dpi=(500, 500))

    # Create a PDF with the resized original image
    c = canvas.Canvas(output_image, pagesize=(558, 558))
    c.drawImage('resized_image.png', 0, 0, width=558, height=558)
    c.save()

    # Register the custom TTF font
    pdfmetrics.registerFont(TTFont('CustomFont', custom_font))

    # Create a separate PDF with centered text and an additional image
    c = canvas.Canvas(output_text, pagesize=(558, 558))

    c.setFillColorRGB(0.15, 0.16, 0.16)  # Custom RGB values (between 0 and 1)

    # Set margins and draw the text within the specified box
    left_margin = 1 * 72  # 1 inch = 72 pixels
    right_margin = 1 * 72  # 1 inch = 72 pixels
    text_width = 558 - left_margin - right_margin
    font_name = "CustomFont"
    font_size = 26

    # Split the text into lines that fit within the text box width
    words = text.split()
    lines = []
    current_line = ""
    for word in words:
        if stringWidth(
            current_line + " " + word, font_name, font_size) <= text_width:
            current_line += " " + word if current_line else word
        else:
            lines.append(current_line)
            current_line = word
    lines.append(current_line)  # Append the last line

    # Draw the text lines left-aligned within the text box
    y_position = (558 / 2) + (len(lines) * font_size) / 2  # Start from center
    for line in lines:
        c.setFont(font_name, font_size)
        c.drawString(left_margin, y_position, line)
        y_position -= font_size * 1.2

    # Add the logo
    offset_left = 0.1 * 72  # Convert inches to pixels (14.4 pixels)
    offset_bottom = 0.3 * 72  # Convert inches to pixels (21.6 pixels)
    c.drawImage(logo, offset_left, offset_bottom, 90, 90)
    c.save()

    # Combine the two PDFs
    merger = PdfMerger()
    merger.append(output_image)
    merger.append(output_text)
    merger.write(f"outputs/image_pages/output_combined_{index}.pdf")
    merger.close()

    os.remove(output_image)
    os.remove(output_text)
In the next chapter, we are going to see the final touches and how the books look on paper!
Final adjustments and shipping
All the PDFs were created respecting the dimensions of the printing platform, which in my case is Lulu. The same applies to the covers, which I decided to do manually because they need another level of detail that only a human can do.
Once I have the body and the cover, with the right dimensions, I upload both PDF files to the Lulu website, give my address, and voilá! In the next few days, the book arrives at my door.
The goal is to craft a personalized book designed specifically for an individual, which makes the printing cost higher compared to producing books for a broader audience. However, these custom books can also be ordered in bulk by schools and institutions wishing to highlight a particular character.
I named this project "Pupilo Books" because it began with my daughter’s toy, Pupilo. Currently, I’m creating these books for family and friends, but I’ve noticed genuine excitement from others who have expressed interest in having one. To make this accessible, I’ve set up an email where you can reach out to bring your vision to life: pupilobooks@gmail.com.
Do you need help with automation, web scraping, AI, data, or anything that my laptop can deliver? Feel free to reach me on Upwork! 👨💻
Final thoughts
Currently, the internet is populated with AI-generated books, but many of the examples I’ve come across lack a personal, humorous touch. There’s no one better than you to create an emotional or funny story about your mother, it’s not something a company can replicate. You need to provide the inputs, and that’s the concept behind Pupilo Books.
That said, there are still limitations with current APIs. For example, generating images of public figures is challenging, and characters’ appearances, such as clothing, hairstyles, or body types, often change inconsistently throughout the story. This makes it difficult to maintain coherence or introduce a second character with proper context.
For now, Pupilo Books can produce funny and emotional stories, but they lack precision, so the inputs must follow specific constraints, and users should understand the limitations.
Even with these challenges, experimenting with AI is incredibly fun and a great creative exercise. It encourages you to explore state-of-the-art models and think outside the box. Given the fierce competition among AI companies, simply exploring and experimenting in your free time can be already very rewarding and prepare you for a future where AI is very much like oxygen.


