
I Made a Video with Veo3 And Nano Banana From Old Pieces of Artwork
Follow these steps to make your first video with Veo3 and Nano Banana.

Let me start by telling you a short story about my old days selling artwork at Lisbon’s flea market, aka Feira da Ladra.
I was a student of Engineering in Nanotechnology and Microelectronics, struggling to pay bills, going out, and traveling.
I used to live five minutes walking from Lisbon’s flea market, so I knew there was some potential to generate income there.
Maths and physics were consuming all my energy, so I needed something to disconnect. I found art as a relief, and I never thought I could monetize my work until I started to get very positive feedback from people.
So I tried, one Saturday morning, I packed my art pieces, which I called Drawnics. Took an old blue towel to put on the floor, and that was pretty much my stand.
To my surprise, people started buying these Drawnics, mostly tourists, so every week I was making more and more to sell at the flea market.
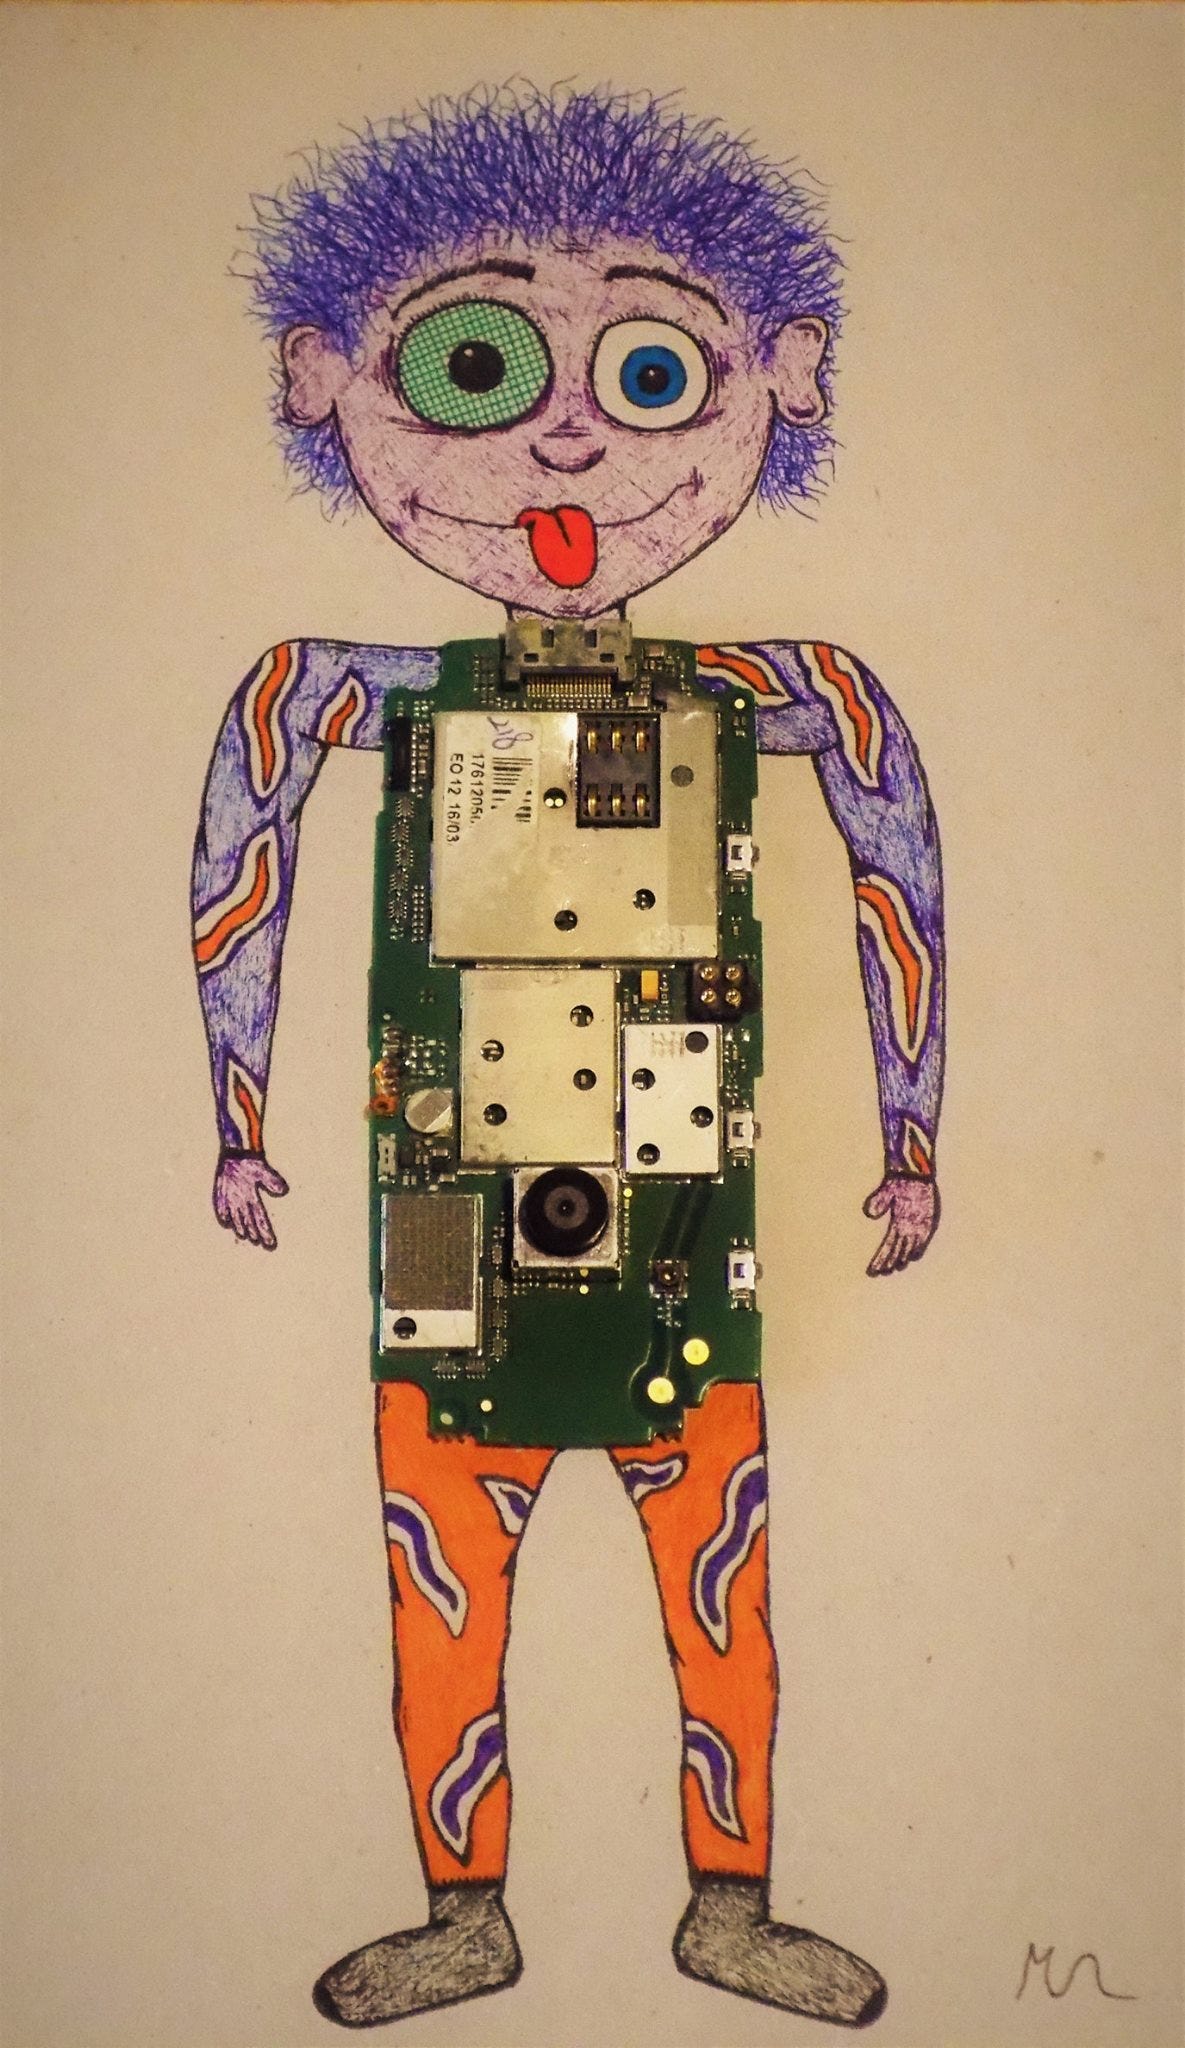
I built these characters from old Electronic Circuit Boards (PCBs) and old book covers. It was a way to upcycle electronic waste, and people loved the idea.
I made Drawnics until my graduation, then I started working, and I switched my creativity to other things.
I don’t remember the exact date I said goodbye to my old friends. But recently, with the editing power of Google’s Nano Banana and Veo3, the first thing that came to my mind was turning my Drawnics into animated characters.
And that’s what this article is about. I will guide you through all the steps I took to create my first video animation with Veo3, while mentioning the struggles and the mistakes I made, so you don’t have to.
Use Nano Banana for free with Google Gemini 2.5
If you search for Nano Banana on Google, in the first SERP results, you will find websites like nanobanana.ai, which provides a paid version of the model. My honest tip: don’t use it! You can get it for free, and many platforms are trying to scam users.
Simply go to Gemini and pick the tool Create images.
You can either create an image from scratch or upload one or multiple images and ask Gemini to edit them according to your prompt.
You can edit the images in a very natural way, and Gemini can more or less generate your idea, but if you want to go professional, I found a post on LinkedIn with several prompt templates you can try, like this one:
1. Photorealistic Scenes
For realistic images, think like a photographer. Mentioning camera angles, lens types, lighting, and fine details will guide the model toward a photorealistic result.
Template: A photorealistic [shot type] of [subject], [action or expression], set in [environment]. The scene is illuminated by [lighting description], creating a [mood] atmosphere. Captured with a [camera/lens details], emphasizing [key textures and details]. The image should be in a [aspect ratio] format.
Example Prompt: A photorealistic close-up portrait of an elderly Japanese ceramicist with deep, sun-etched wrinkles and a warm, knowing smile. He is carefully inspecting a freshly glazed tea bowl. The setting is his rustic, sun-drenched workshop. The scene is illuminated by soft, golden hour light streaming through a window, highlighting the fine texture of the clay. Captured with an 85mm portrait lens, resulting in a soft, blurred background (bokeh).
Here’s the link for the LinkedIn post.
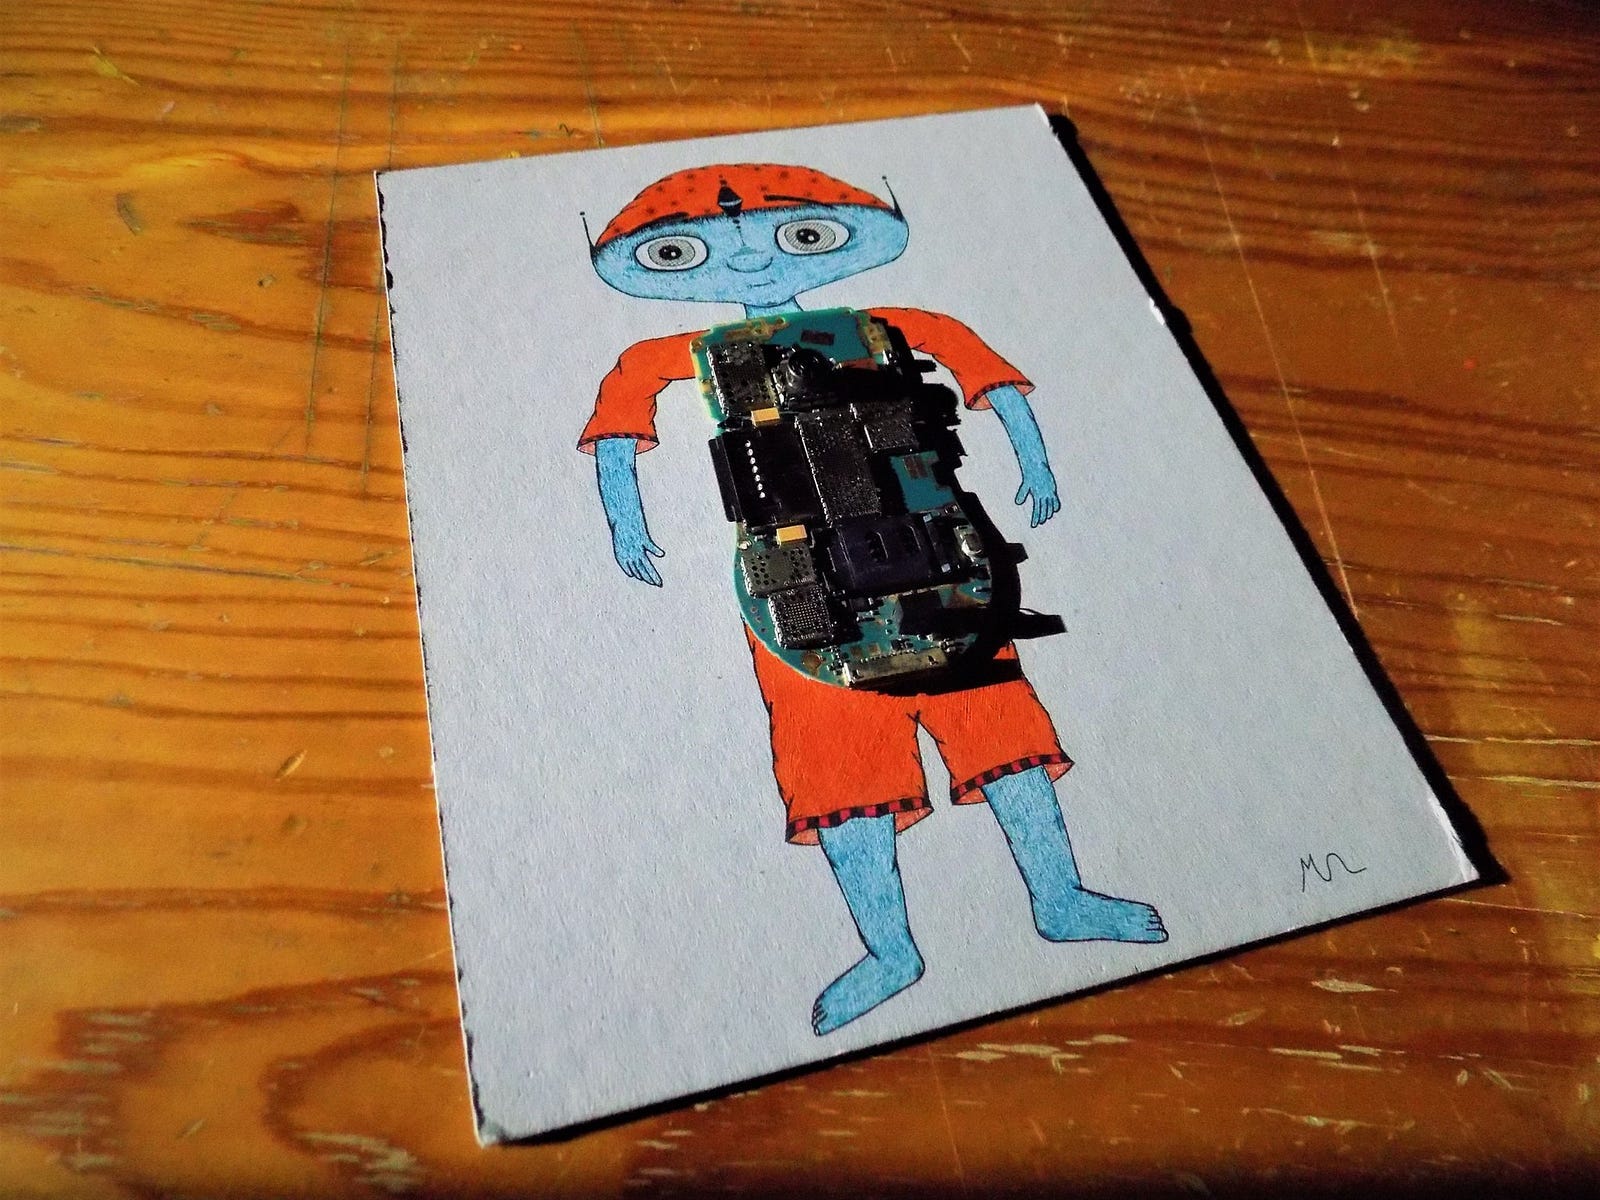
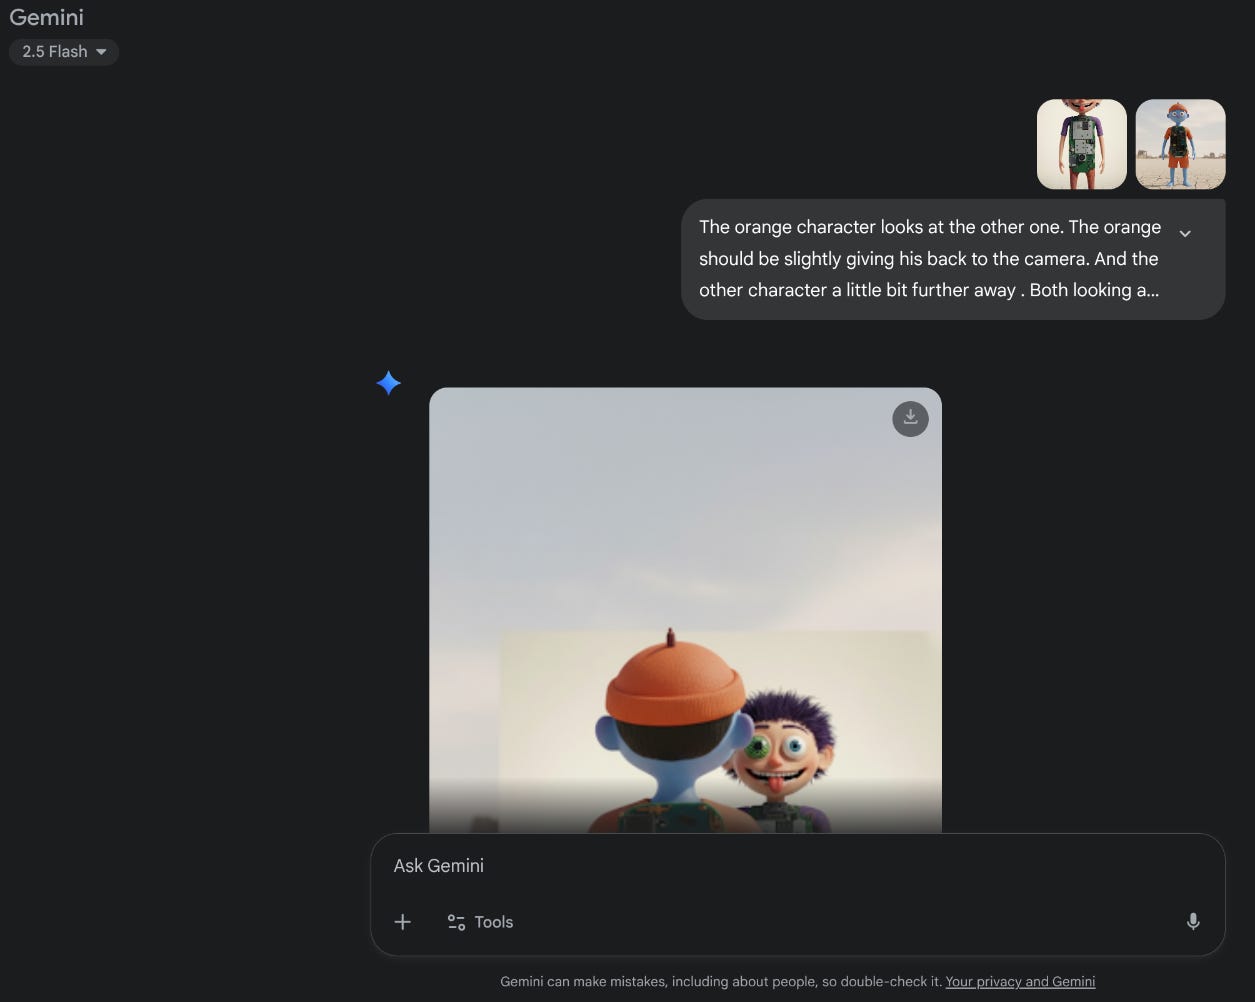
My story started with a blue Drawnic, dressed in orange. Here’s the protagonist:
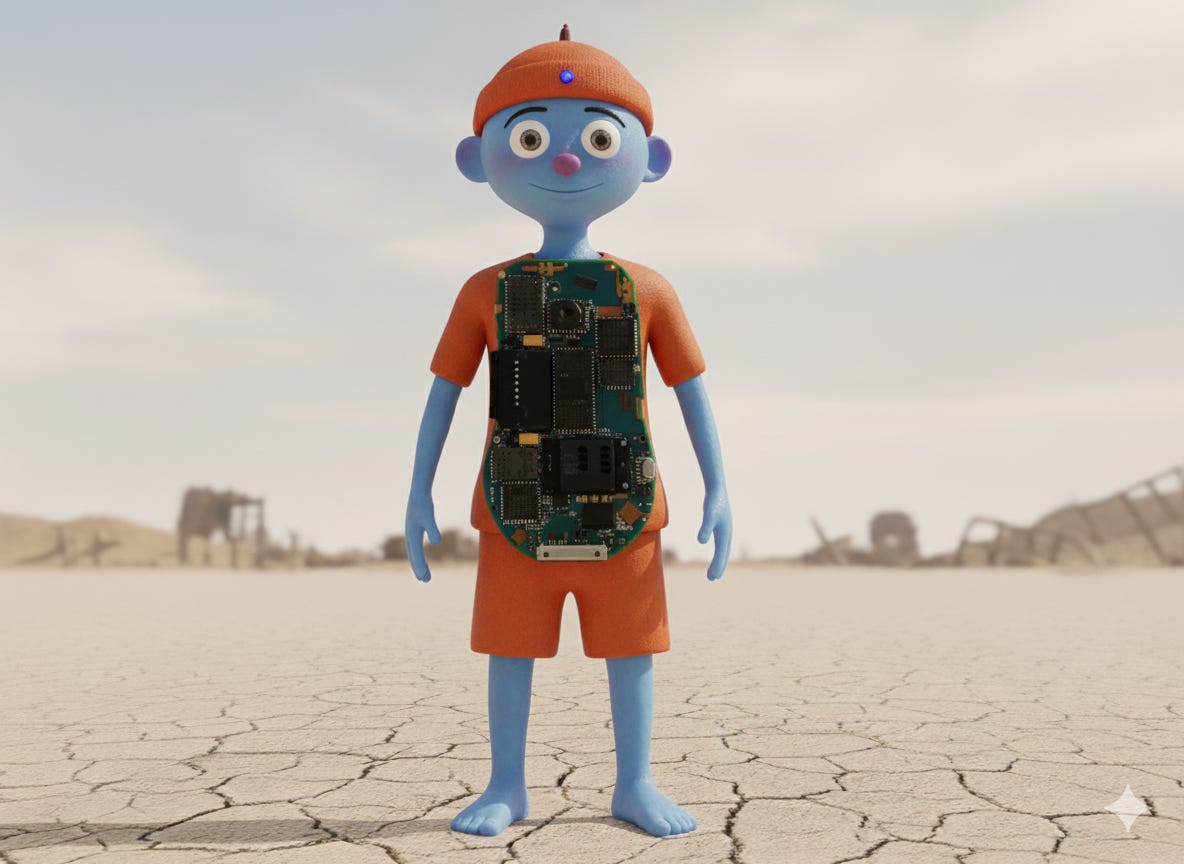
This is the prompt I used to turn it into a movie star:
Turn this guy into a real-life character. Make sure to preserve all the details. The environment should take place in a post-apocalyptic world. But make the surroundings with light a smooth colors, without too much noise, the focus is on the character.
The output:
As I started editing, I found some annoying issues that were hard to fix:
Pixar style
Aspect ratio
Hallucinations
Let me explain one by one in detail.
The Pixar style
By default, the model tends to create Pixar-style characters. I was trying to preserve the details of my drawings, but I couldn't get them in 3D. It makes sense in a way that the model was trained with many Pixar images, but struggles to create depth from pictures where it has no previous information.
The aspect ratio
When adding more than one image, Gemini may pick the aspect ratio of one of them.
A simple prompt like change to 16:9 aspect ratio does not work on Gemini. The workaround was to add an image with the right aspect ratio and tell the model to use it in the previous image.
I highly recommend that you use 16:9, as it will make your life easier at the moment of creating the videos with Flow from Google Labs. We will see this with more detail later in the article.
Hallucination
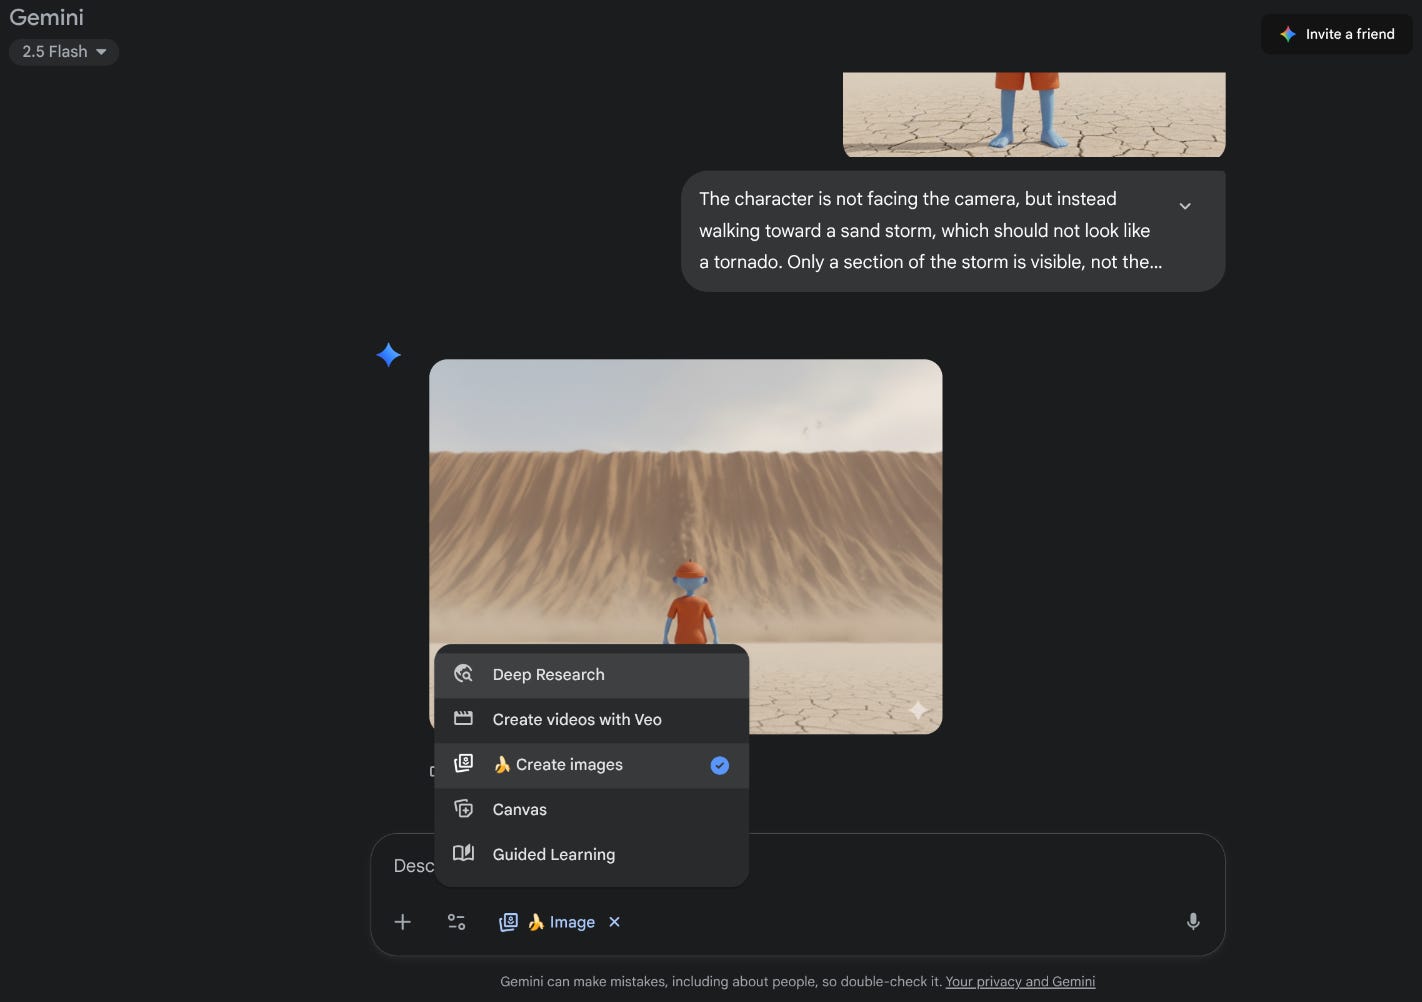
Again, when more images were added, I started labelling them. Something like character A, B, C, and so on. This worked until a certain point, then Gemini began generating characters from scratch or mixing the labels. The workaround was to avoid using the same chatbot instance for more than three or four requests.
In addition to the issues mentioned, sometimes Gemini fails to output an image, and you need to retry.
The more familiar you are with filmmaking vocabulary, the easier it becomes to generate the right takes. Regardless of the trials and the time I spent, in the end, I successfully created a collection of around 7 images to start making my video animation.
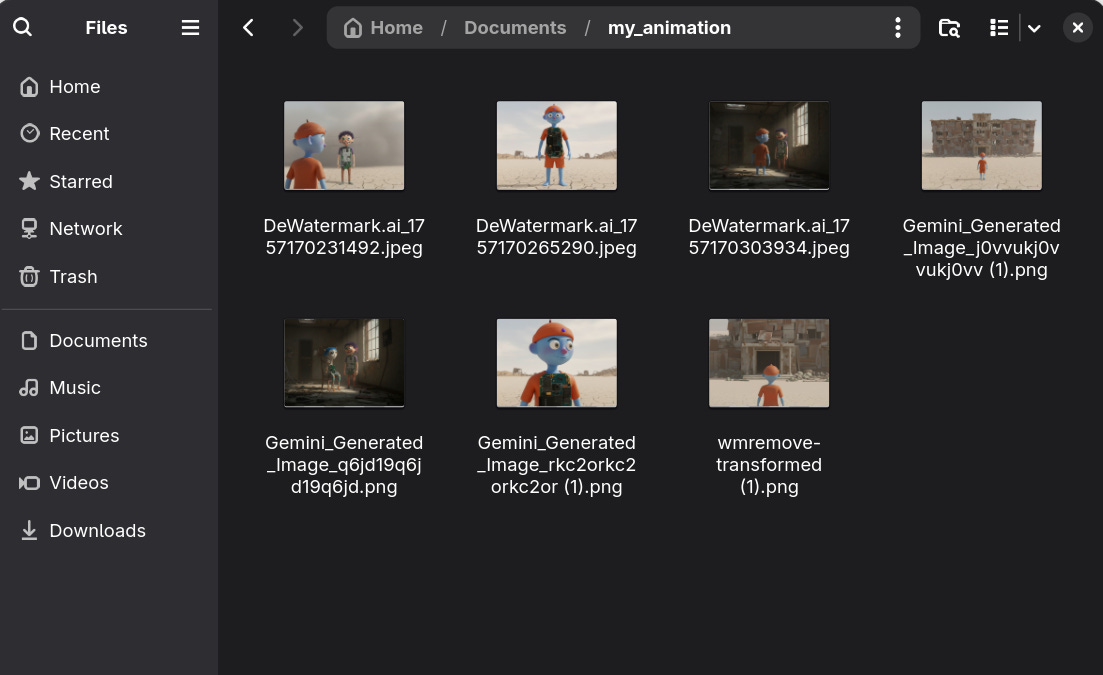
All images generated with Gemini 2.5 have watermarks, but you can easily remove them with platforms like this.
Use Veo3 for free with Google Gemini 2.5 Pro
Similar to Nano Banana, you may find scam websites in SERP results for Veo3. Such as Veo3.ai, now changing the name to SonoVid.ai. They are using the right model, but they charge more than simply using Gemini.
There are two main options to generate videos with Veo3. You can either do it using the Gemini chatbot or using Flow. The latter is better for storytelling and generating new videos from frames.
Before starting, you need to have a Google account and choose the Google AI Pro plan, which is free of charge for the first month. After the trial period, the price is €21,99/month.
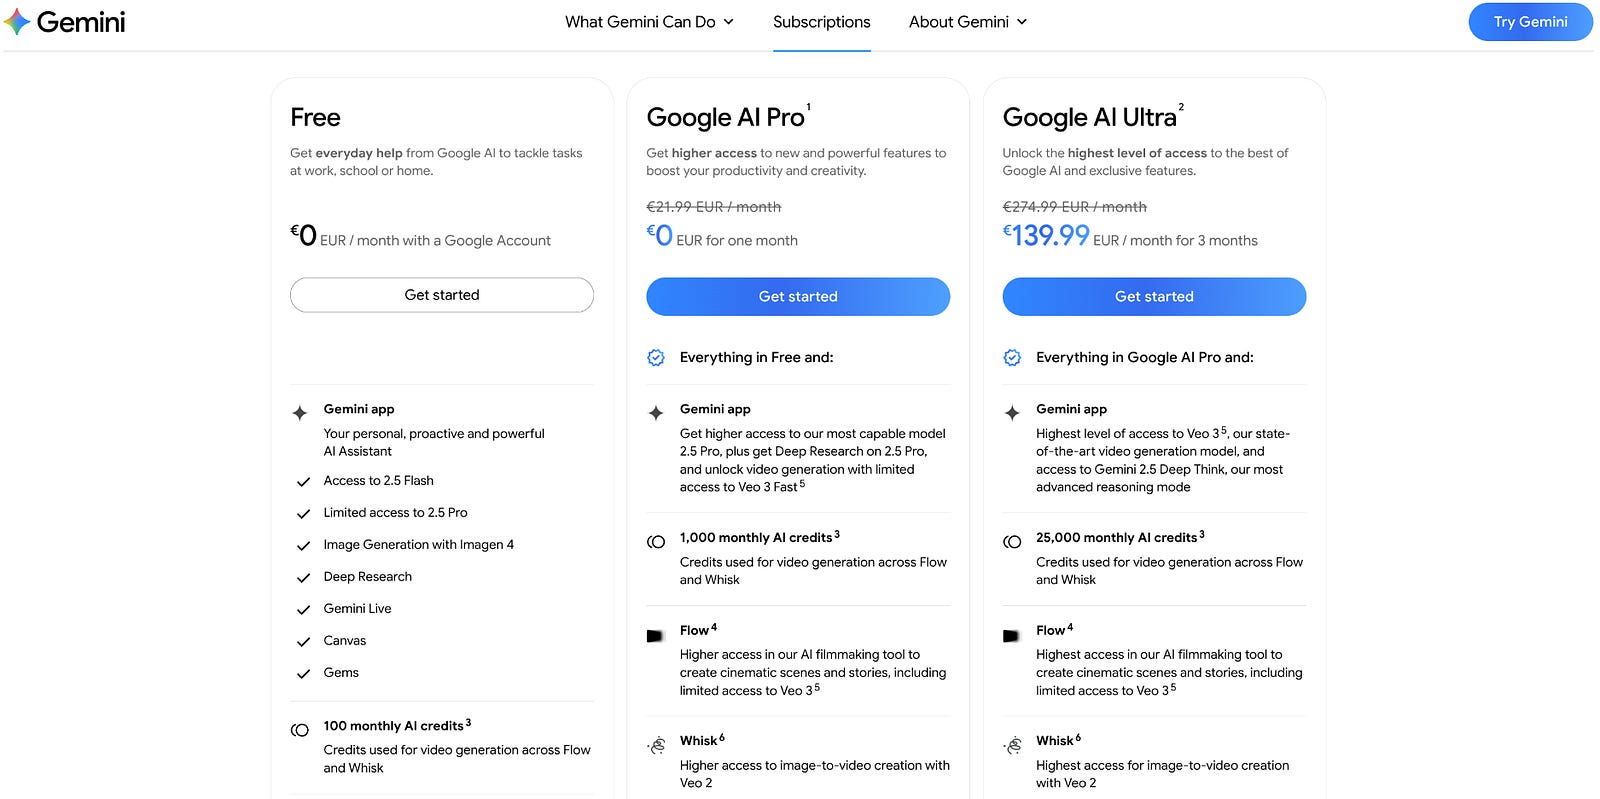
The Pro plan gives you 1,000 credits, and each fast generation costs 20 credits, allowing for 50 generations per month. Generations prioritizing quality instead of speed cost 100 credits, leading to only 10 generations per month. In the following example, I’ve only used fast generations.
I will now start showing you the process of making my first video animation on Flow.
In Flow’s creator page, you can either select the option Text to Video or Frames to Video. In my case, I already had the images without a watermark ready to be animated, so I only used the Frames to Video option.
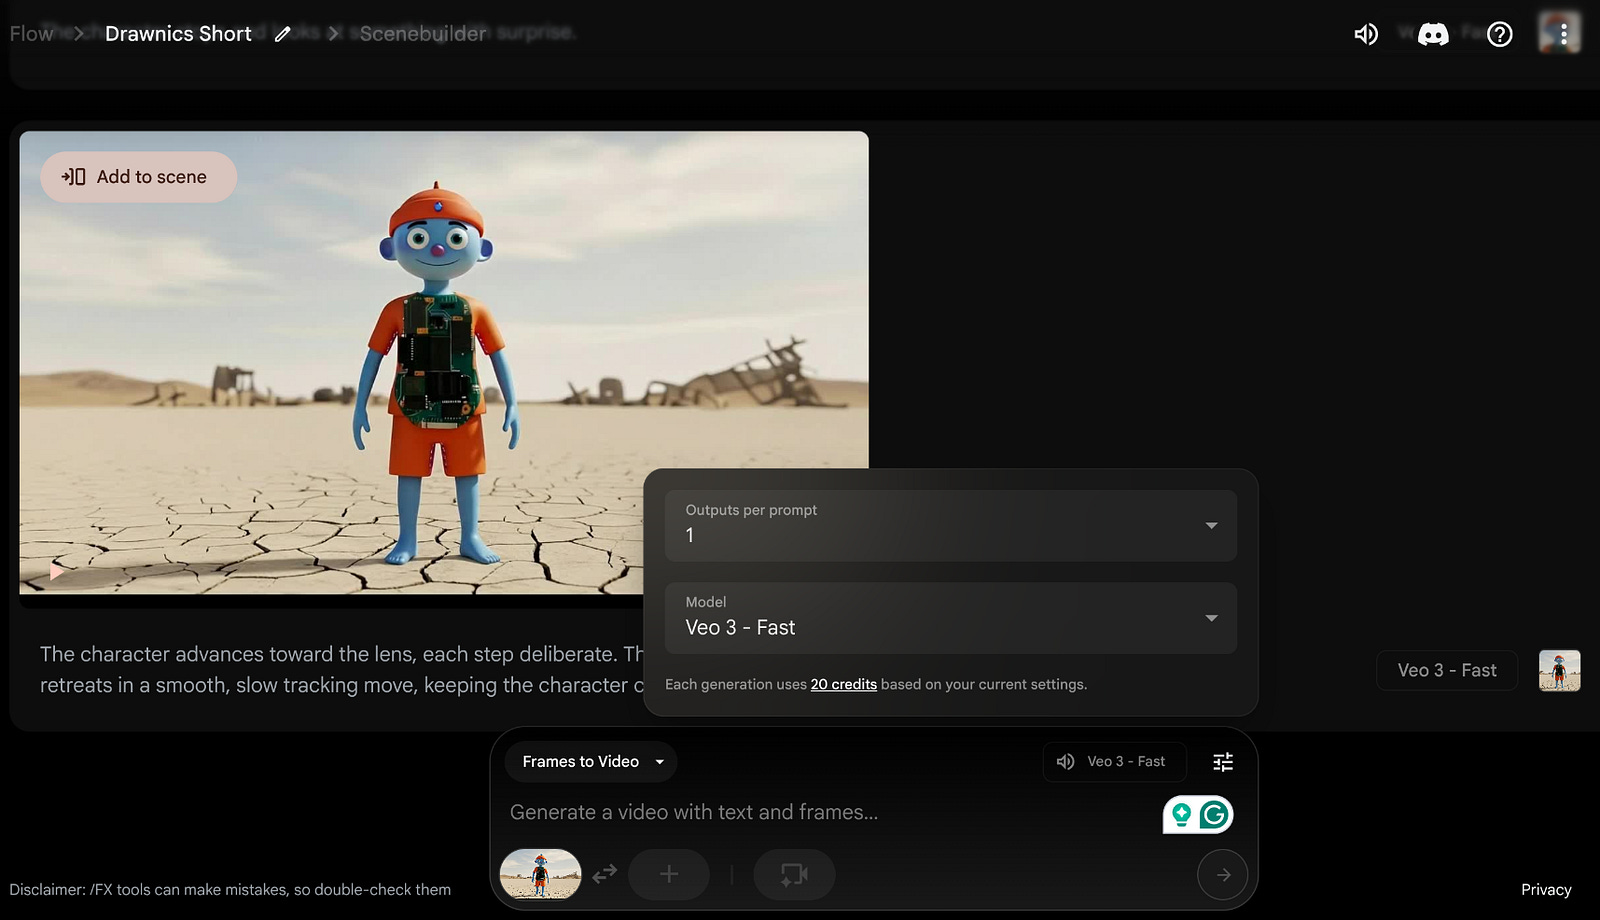
Make sure you select the Veo3 — Fast option and set the number of outputs to one, to avoid using too many credits.
Veo3 does not allow adding the start and ending frames, only one frame per video generation, so you really need to prepare the images in a way that does not compromise your video sequence. If you want to add a starting and ending frame, you need to specify Veo 2 instead, and it does not generate audio.
Once again, the more you know about filmmaking vocabulary, the better the results will be. I’m not really familiar with these terms, so I often use ChatGPT to help me out with the scenes.
Here’s the prompt for the first scene of my video:
The character advances toward the lens, each step deliberate. The camera retreats in a smooth, slow tracking move, keeping the character centered as if drawn toward us. The faint crunch of footsteps underfoot blends with a soft breeze, the ambient wind brushing against the silence, heightening the intimacy of the moment.
And here’s the scene:
You can see that Veo3 does a great job preserving the surroundings and the overall details of the image.
Unlike the Gemini watermark on the images, which is easy to remove, for the videos, I did not find a straightforward way of doing it. You would need to pay for Gemini’s ultra plan.
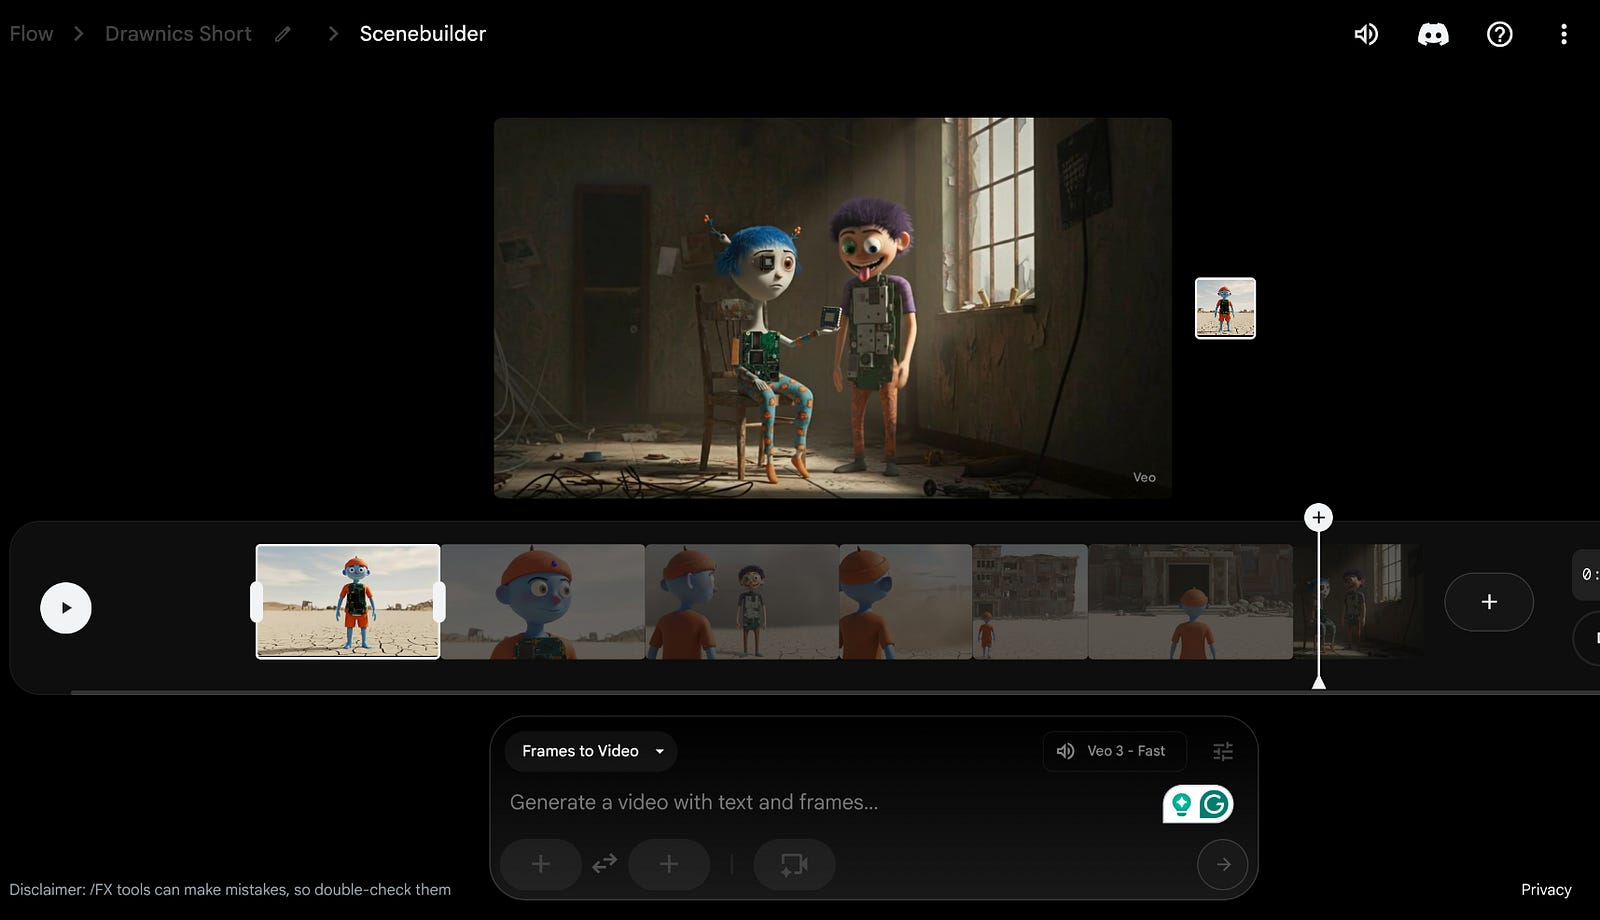
Continuing on the Flow creator’s page, you have the option to add the video to the scene builder, at the top left of your video generation: Add to scene.
After creating several shots, I moved to the scene builder to do some minor editing and optimize the transitions.

One of the best features of Flow is that it allows you to save a frame from a specific scene. This feature is great for transitions! Because you can create a new video from that frame, allowing you to extend the scene for more than 8 seconds. However, the audio can still be tricky to optimize.
When you create a new frame in Flow, you don’t need to worry about watermarks, because you’re already in Gemini 2.5 pro. Also, you shouldn’t face aspect ratio issues.
Though all my takes, I tried to keep the same post-apocalyptic feel, and a constant sound of wind in the background. Having the audio and the lip sync options on Veo3 is indeed great! But it also adds extra complexity to building a proper animation, where the characters must maintain the same voices and the audio does not differentiate too much from scene to scene.
Flow has limited editing capabilities. You can only trim parts of the scene. But if you’re happy with the output, you can download the full sequence.
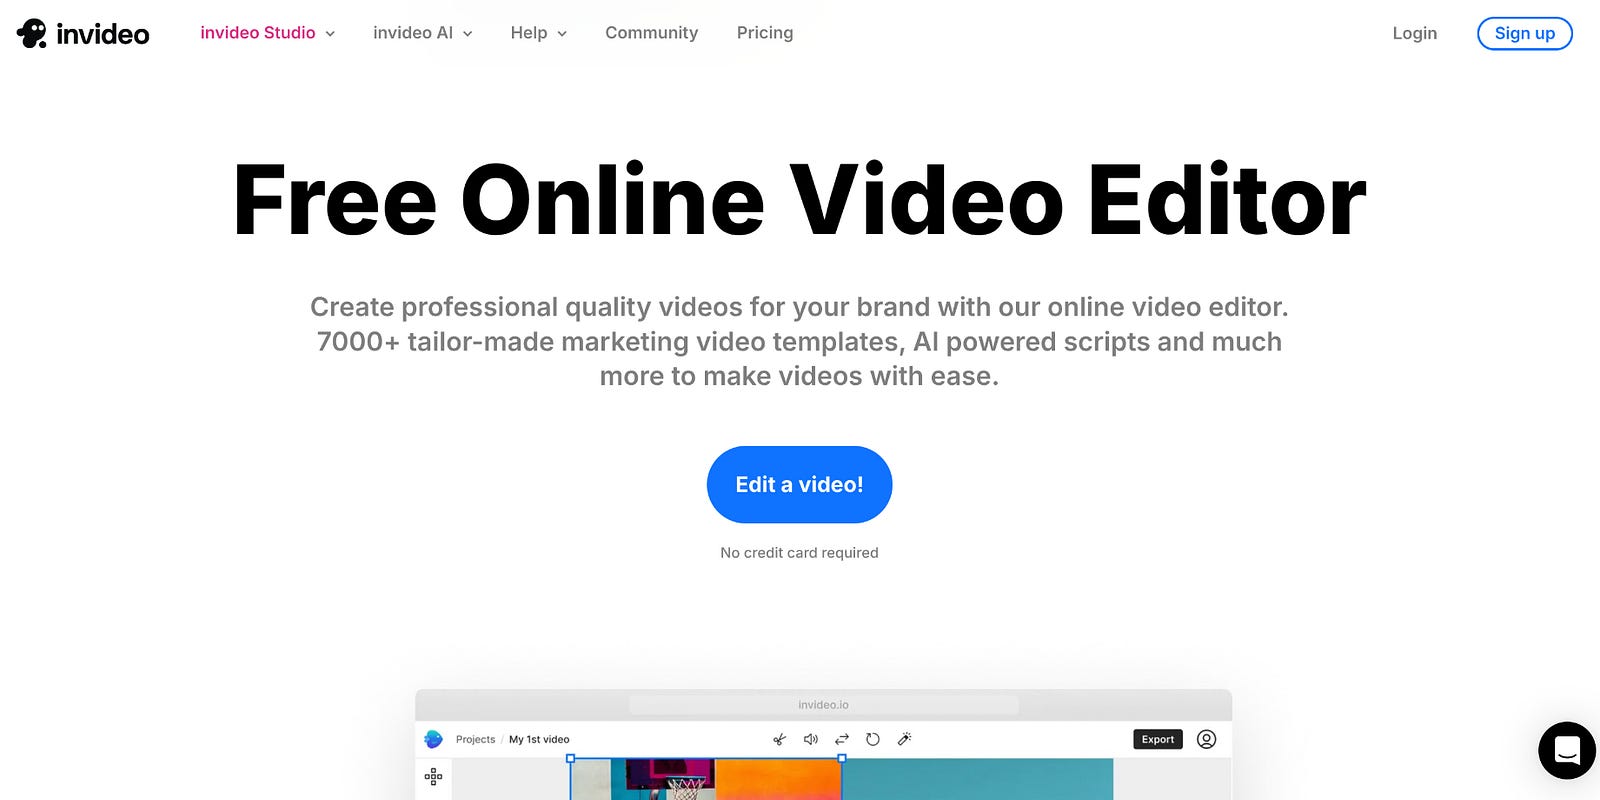
In my case, I’ve decided to download videos one by one instead and use an external video editor.
Microsoft’s Climpchamp is a free tool that allows you to add transitions, text, and more. But if you want to go professional, I highly recommend Invideo online video editor.
Making a 1-minute video took me a few hours, but I had no previous experience in building animation videos. In total, I spent exactly 400 credits to make it. Here is the final work:
Need help with automation, AI, or data science? Let’s talk.
Conclusion
The process of building a 1-minute animation video was long and costly. With only a few generations, I’ve already used almost half of the monthly credits.
If you decide to take the Gemini Pro version only because of Veo3, you need to realise that you won’t be able to make more than 3 short videos per month.
Therefore, I think this plan might be worth it to make simple 8-second animations, but not for filmmaking. Besides, you face the challenge of the watermark, which can be easily fixed with single videos, but not with a full animation.
Nonetheless, I’m really happy with the output. There’s a sense of nostalgia in seeing my old pieces of artwork come alive in the digital world. Characters that were once static, living only in my imagination or in the hands of those who bought them at the flea market, can now reach a wider audience, even if they’ve taken on a Pixar-like look.
Veo3 and Nano Banana make a powerful combo: Veo3 brings strong image-editing capabilities that breathe life into idle objects, while Nano Banana excels at preserving image details and generating natural motion and audio.
With that being said, maybe a Drawnics — Part 2 coming soon?
Really cool and what a great way to bring back old memories. A setup like this let's you fully zoom I to the creative process. Incredible